Hey there! As a supplier of rectangular pipes, I've seen firsthand how crucial it is to get the installation right. Whether you're a DIY enthusiast or a professional contractor, installing a rectangular pipe can seem daunting at first. But don't worry; I'm here to walk you through the process step by step.
Step 1: Planning and Preparation
Before you start installing a rectangular pipe, you need to do some planning. First, figure out where you want to install the pipe. Consider factors like the purpose of the pipe, the load it will bear, and any obstacles in the way. For instance, if you're using the pipe for a structural support in a building, you need to ensure it's placed in a location that can handle the weight.
Next, measure the area where the pipe will be installed. You'll need to know the exact length, width, and height to get the right-sized rectangular pipe. Make sure to double-check your measurements to avoid any costly mistakes.
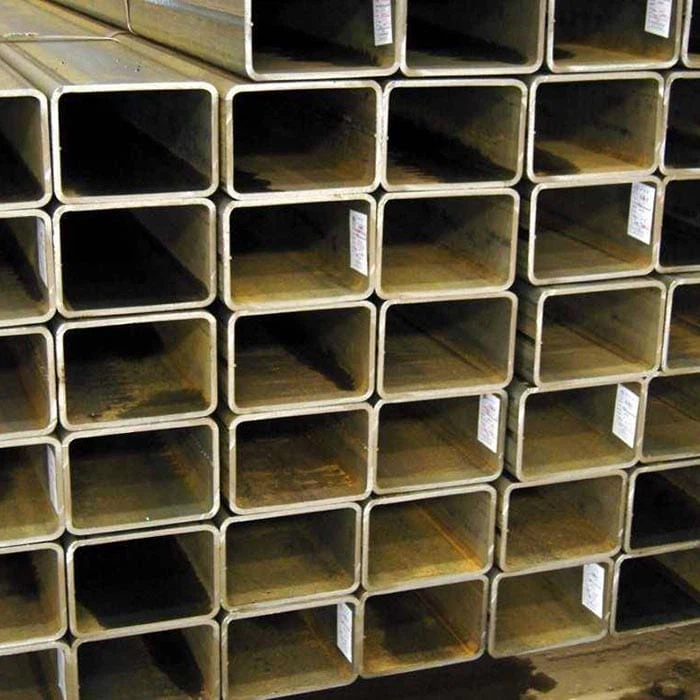
Once you have your measurements, it's time to choose the right pipe. At our company, we offer a variety of rectangular pipes, including Square Steel Tube and Rectangular Steel Tube. These pipes are made from high-quality materials and are designed to meet different needs. If you're looking for a pipe that meets specific standards, we also have ASTM A500 Square and Rectangular Steel Pipe.
Step 2: Gathering Tools and Materials
After you've planned and chosen your pipe, it's time to gather the tools and materials you'll need for the installation. Here's a list of some common tools:
- Tape measure: To double-check your measurements during the installation process.
- Pipe cutter: If you need to cut the pipe to the right length.
- Welding equipment: If you're joining the pipe using welding.
- Screwdrivers and nuts: For attaching the pipe to other structures.
- Safety gear: This includes gloves, safety glasses, and a hard hat to protect yourself during the installation.
In addition to tools, you'll also need some materials. These might include brackets, flanges, and gaskets, depending on how you're installing the pipe.
Step 3: Cutting the Pipe (if necessary)
If the pipe you've purchased is longer than you need, you'll have to cut it to the right length. Use a pipe cutter to make a clean cut. Make sure to measure twice and cut once to avoid any errors. When cutting, hold the pipe firmly to prevent it from moving. After cutting, use a file to smooth the edges of the pipe to prevent any sharp edges that could cause injuries.
Step 4: Joining the Pipes
There are several ways to join rectangular pipes, and the method you choose depends on your specific situation.
Welding
Welding is a popular method for joining pipes, especially when you need a strong and permanent connection. Before you start welding, make sure the surfaces of the pipes are clean and free of dirt, rust, or paint. Use a wire brush to clean the areas where you'll be welding.
Set up your welding equipment according to the manufacturer's instructions. Make sure you're in a well-ventilated area and wearing the appropriate safety gear. Start welding slowly and steadily, making sure to create a strong bond between the pipes. After welding, let the joint cool down completely before moving on.
Bolting
Bolting is another option for joining pipes. This method is useful when you need to be able to disassemble the pipes later. Use brackets or flanges to connect the pipes, and then secure them with bolts and nuts. Make sure the bolts are tightened properly to prevent any leaks or movement.
Step 5: Installing the Pipe
Once the pipes are joined, it's time to install them in the desired location. If you're installing the pipe as a structural support, make sure it's level and plumb. Use a level to check the alignment and adjust as needed.
If you're attaching the pipe to a wall or other structure, use brackets or screws to secure it. Make sure the attachment points are strong enough to hold the weight of the pipe and any load it will bear.
Step 6: Testing the Installation
After the pipe is installed, it's important to test the installation to make sure everything is working properly. If the pipe is for a plumbing system, turn on the water and check for any leaks. If it's a structural support, look for any signs of movement or stress.
If you find any issues, don't hesitate to make the necessary adjustments. It's better to fix any problems early on than to deal with them later.
Step 7: Maintenance
Once the pipe is installed and tested, it's important to maintain it properly. Regularly inspect the pipe for any signs of damage, such as rust, cracks, or leaks. If you notice any issues, address them immediately to prevent further damage.

If the pipe is exposed to the elements, consider applying a protective coating to prevent rust and corrosion. This will extend the lifespan of the pipe and keep it in good condition.
Conclusion
Installing a rectangular pipe might seem like a complex task, but by following these steps, you can do it successfully. At our company, we're committed to providing high-quality rectangular pipes and excellent customer service. If you have any questions about the installation process or need help choosing the right pipe, don't hesitate to contact us. We're here to assist you every step of the way. Whether you're a small DIY project or a large commercial construction, we can provide the right rectangular pipe solutions for you. So, if you're in the market for rectangular pipes, get in touch with us for a great deal and expert advice.
References
- "Steel Pipe Handbook" - A comprehensive guide on steel pipes and their applications.
- Industry standards for rectangular pipe installation, such as ASTM A500.